Paratha: Spinach-Carrot-Tofu Flatbread for kids

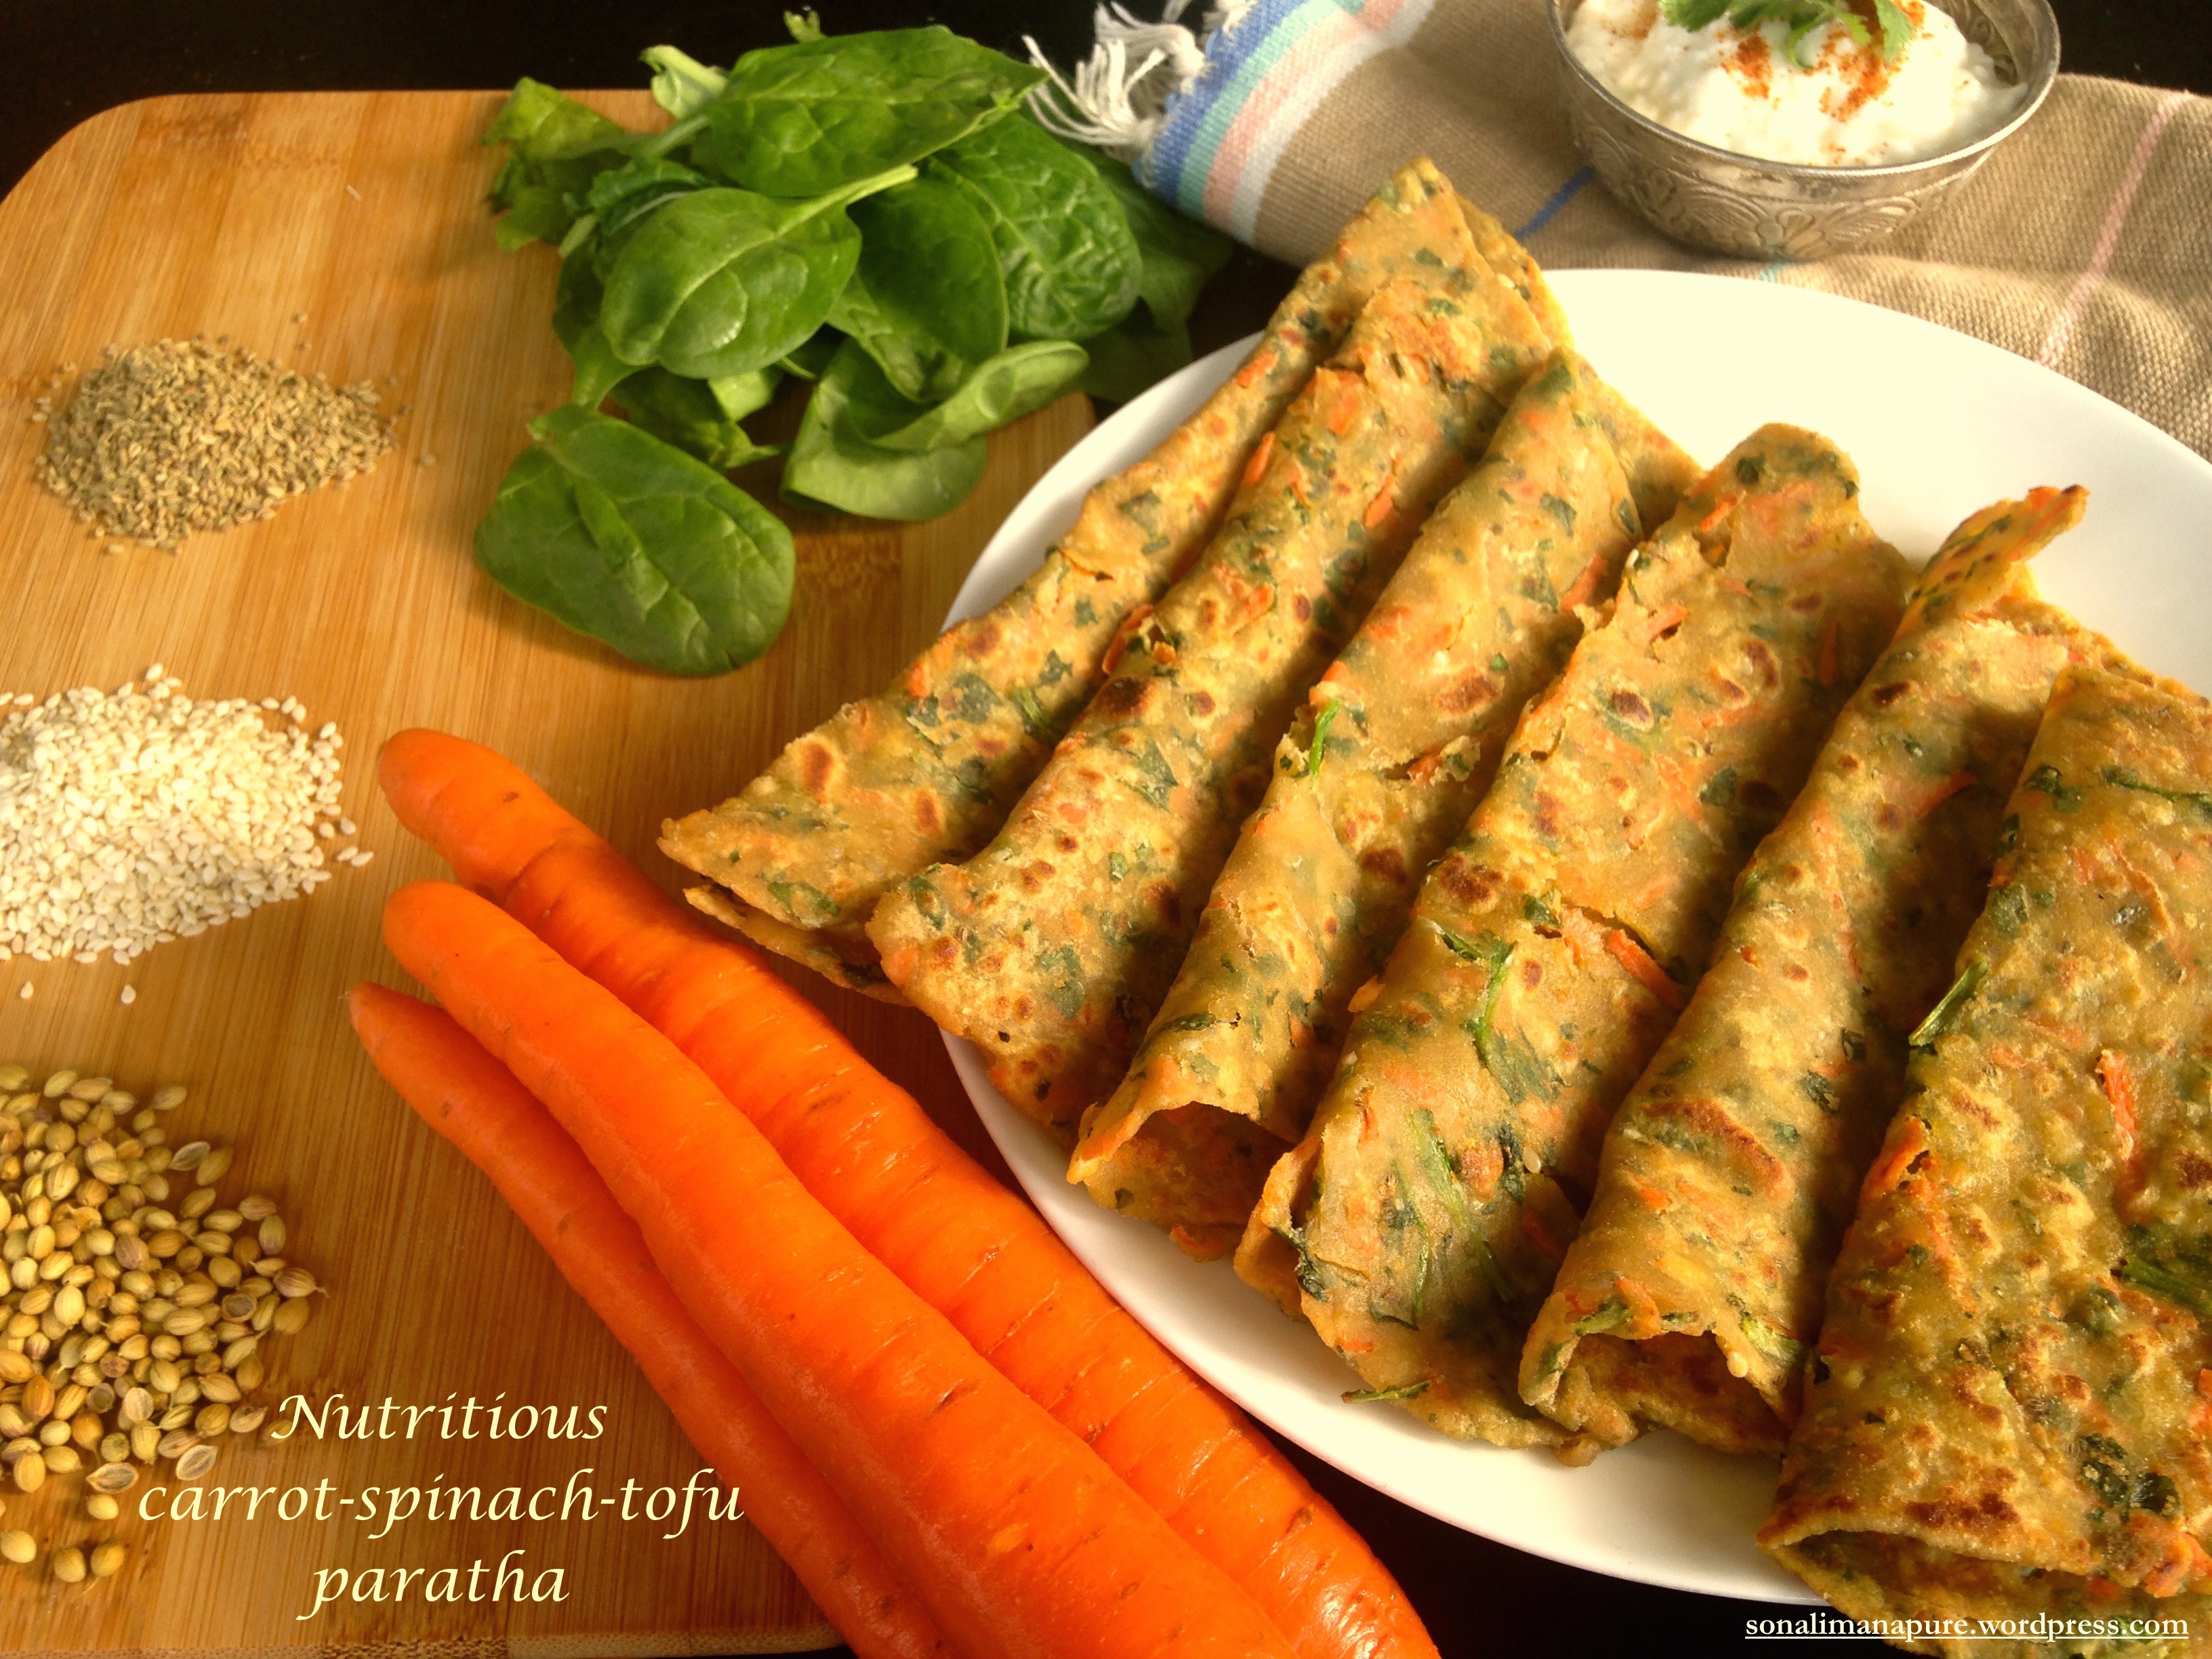
Paratha/ parantha, or Indian pan-fried flatbread make a very simplistic subject for a blogpost (certainly so if you are from India). Yet, the reason it made it here is because of its high nutritional value and reasonably good taste. A staple in our household, it works well with the kids, unless, of course when I overdo it! The best part about these flatbreads is they work out to be a great medium for a variety ingredients

Carrot-Spinach-Tofu Paratha (pan-fried flatbread)
Carrot-Spinach-Tofu Paratha (pan-fried flatbread). Vegan.
The super nutrition information at the very bottom of this post will show you how wholesome and healthy these are that you’d want to surely try it out!

Ingredients

Basic: (see Note 1)
1.5 cup Whole wheat flour atta or multigrain flour
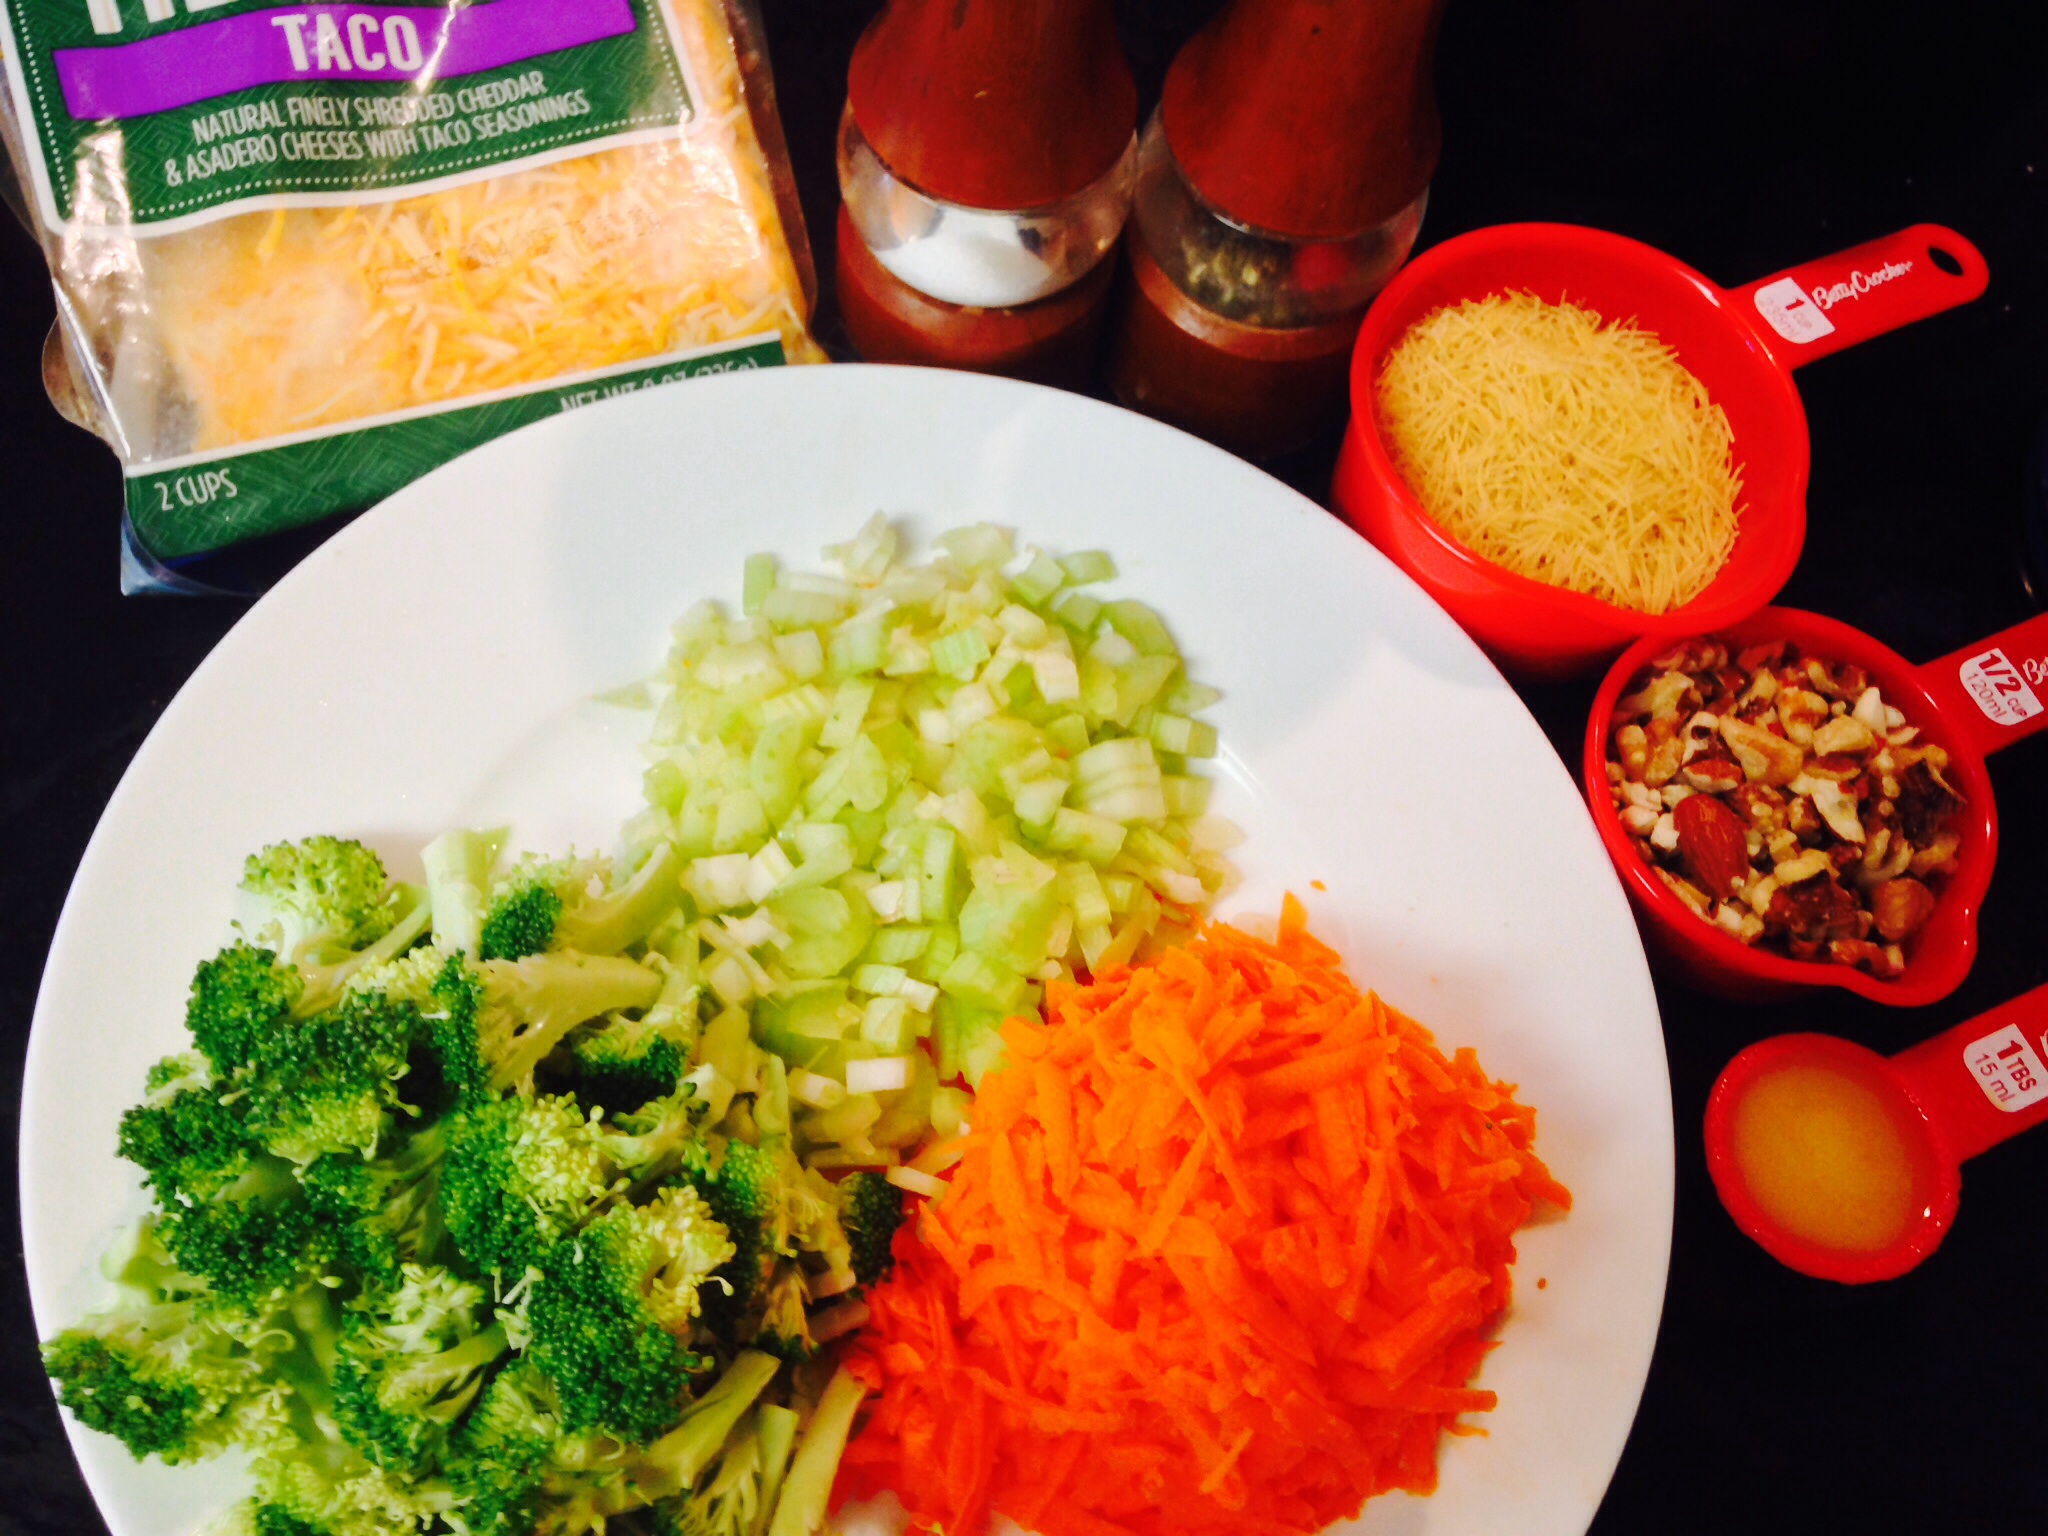
1 cup / 1 medium carrot , grated big (see Note 2)
1 cup packed spinach, chopped (make sure the stems re not used lest it break the paratha)
1/2 cup firm organic tofu after water squeezed out, crumbled (see Note 3)
Condiments:
1 tbsp sesame seeds
1/2 tsp carom seeds
1.5 tsp coriander powder
1 tsp salt OR to taste (tip 3)
1/2 -1 tsp red chilli powder
some water to knead the dough (depends)
some Oil for frying

Recipe:

1. Mix and mash all the ingredients well. Now add little water (if and as needed) in 2-3 intervals and knead into a smooth pliable dough, if doing by hand. (The dough should not be sticky).
2. Make slightly bigger than golf-sized balls and roll parathas this way. (Or use a tortilla maker.)
Notes:
  1. As for the proportions, feel free to add more or less of the ingredients/ condiments that go in the flour. Care must be taken for the resulting total water proportion in the dough, either from veggies or added.
  2. If the carrot is grated small / fine, it will release more water. You might then need very less or no water at all. (I grate it big).
  3. Similarly, any unsqueezed water from the tofu will add to the dough. In that case you might need very little water while kneading, or none at all.
  4. If the salt if just right can make the parathas edible by themselves.

Serving suggestion:

Goes with yogurt (with a pinch of salt and red pepper), achar (Indian pickles) , cottage cheese (great source of protein), egg bhurji (Indian spiced scrambled eggs) or with any other Indian curry / subzi. Though they are savory, I give it with sugar/jaggery + ghee as a last resort if nothing else works with kids; this always does!
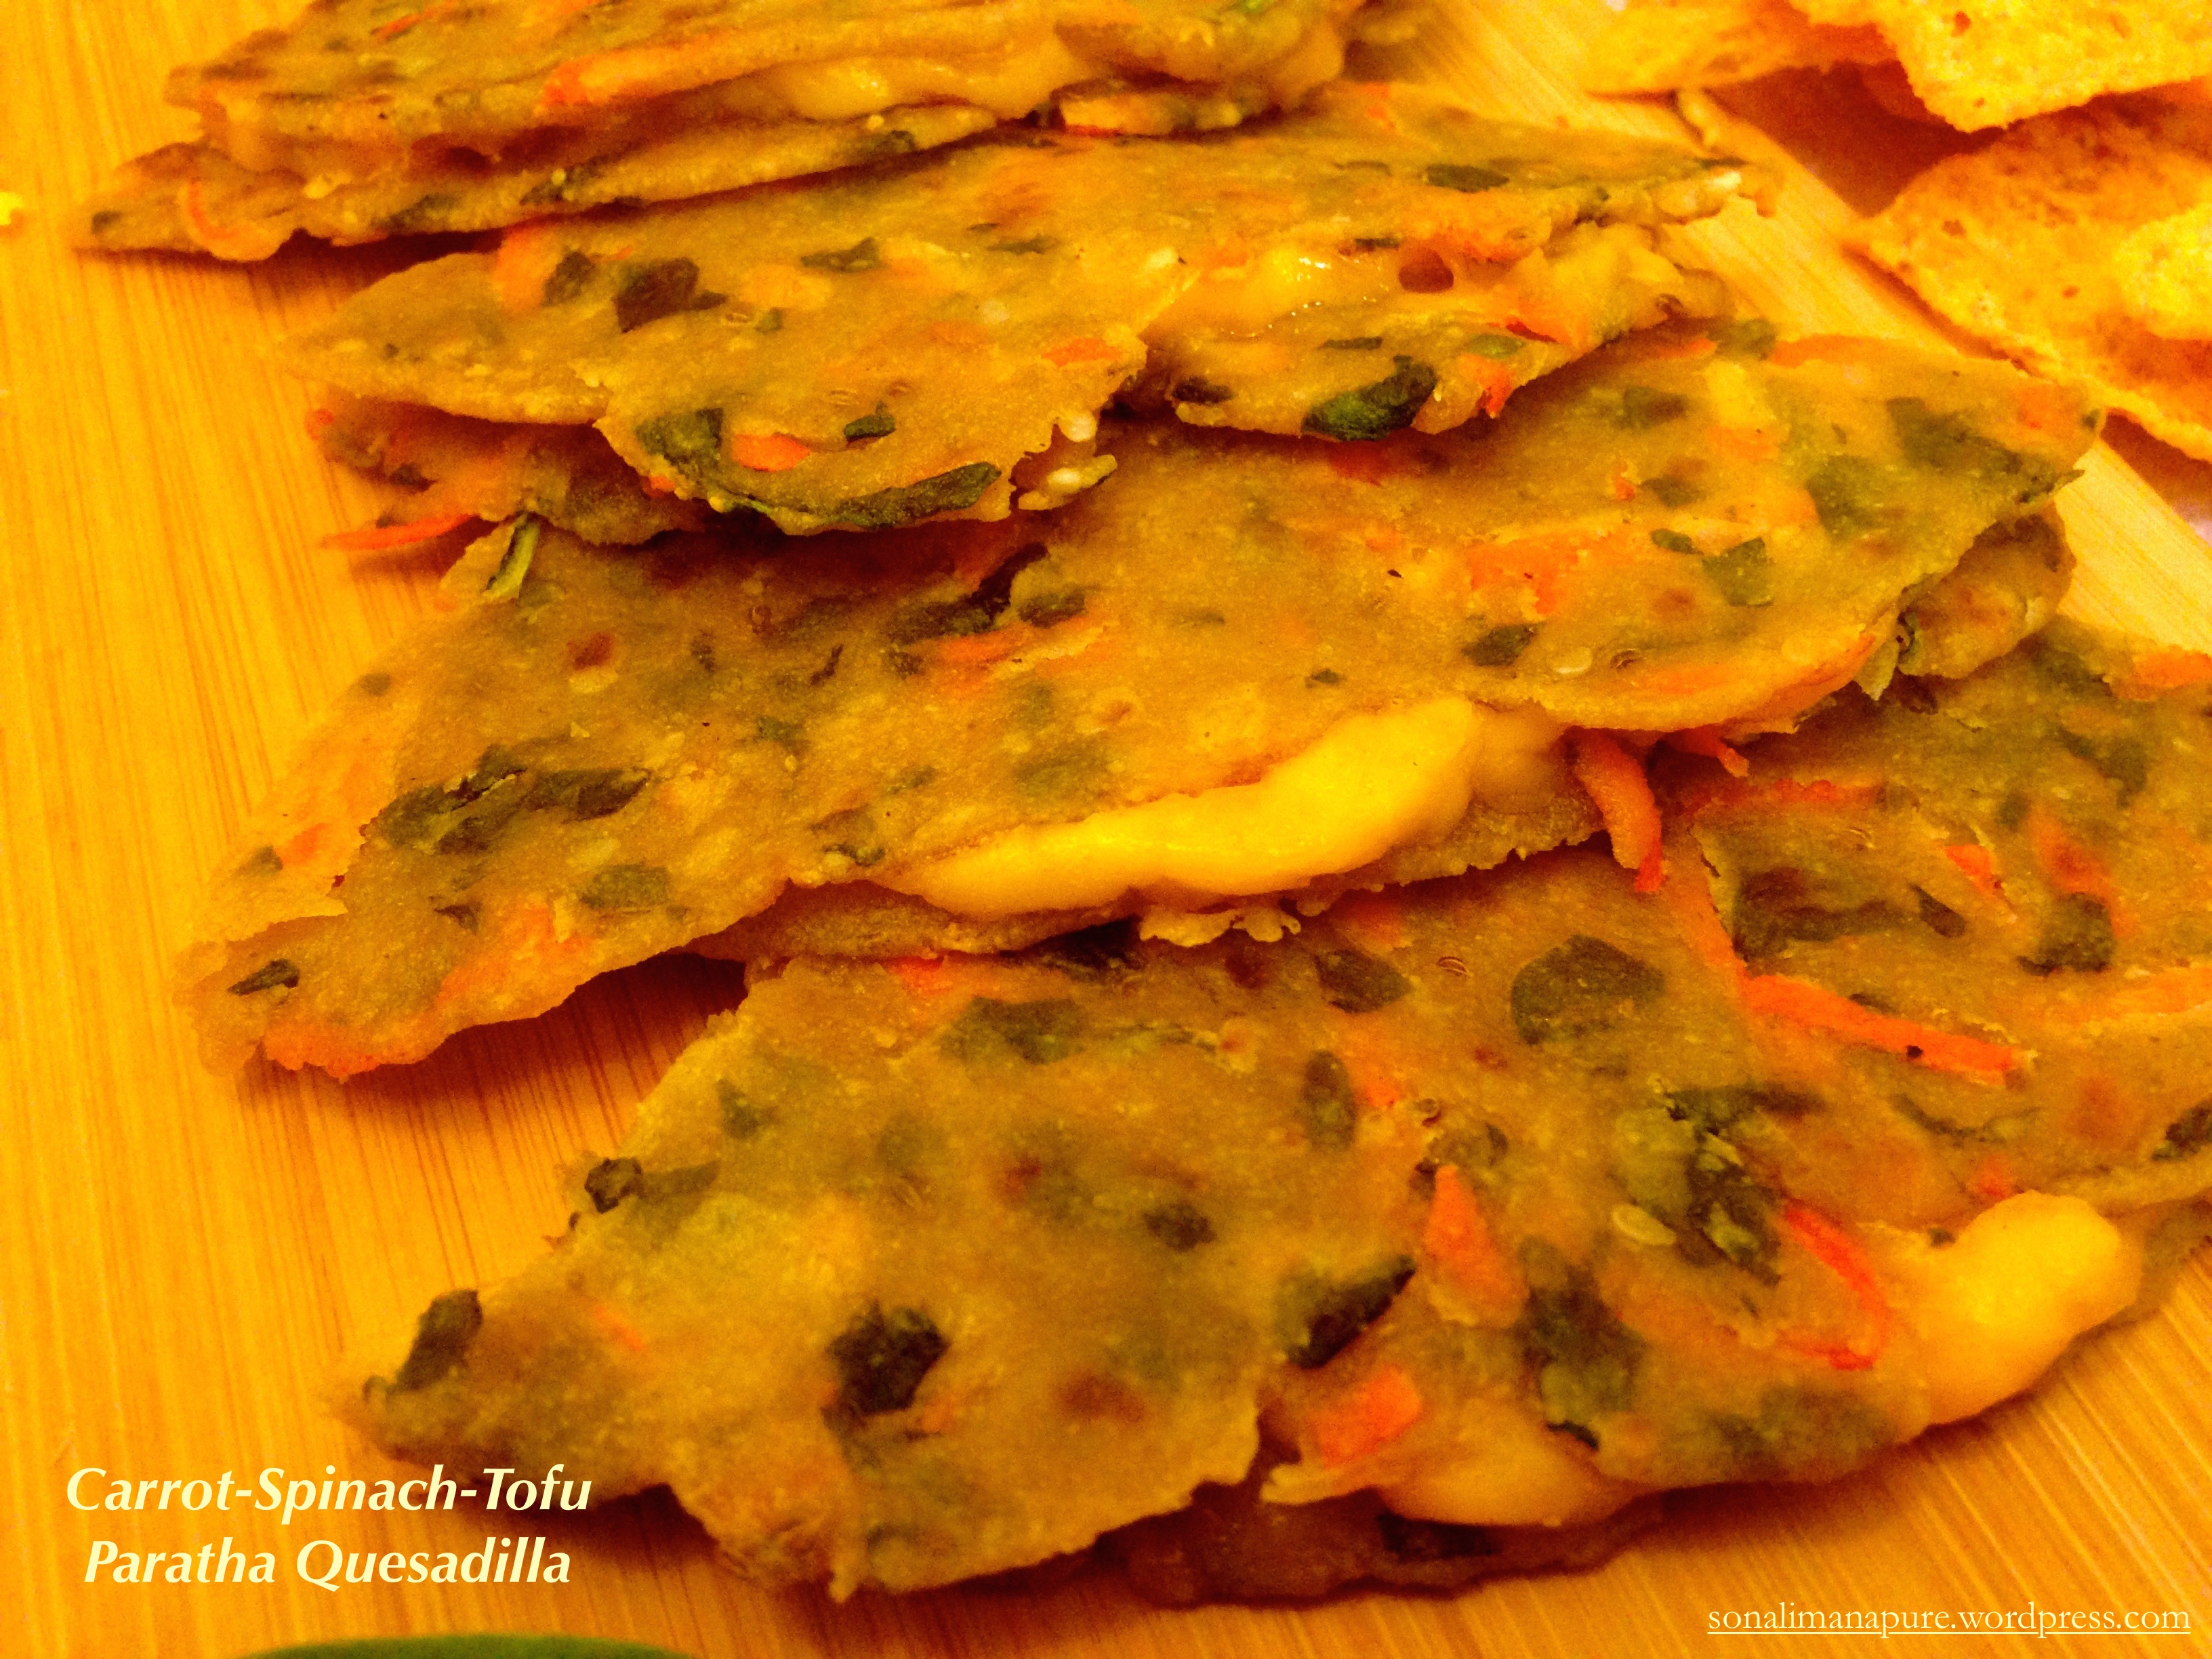
Paratha Quesadillas

Carrot-Spinach-Tofu Paratha Quesadilla
Carrot-Spinach-Tofu Paratha Quesadilla. Vegetarian.
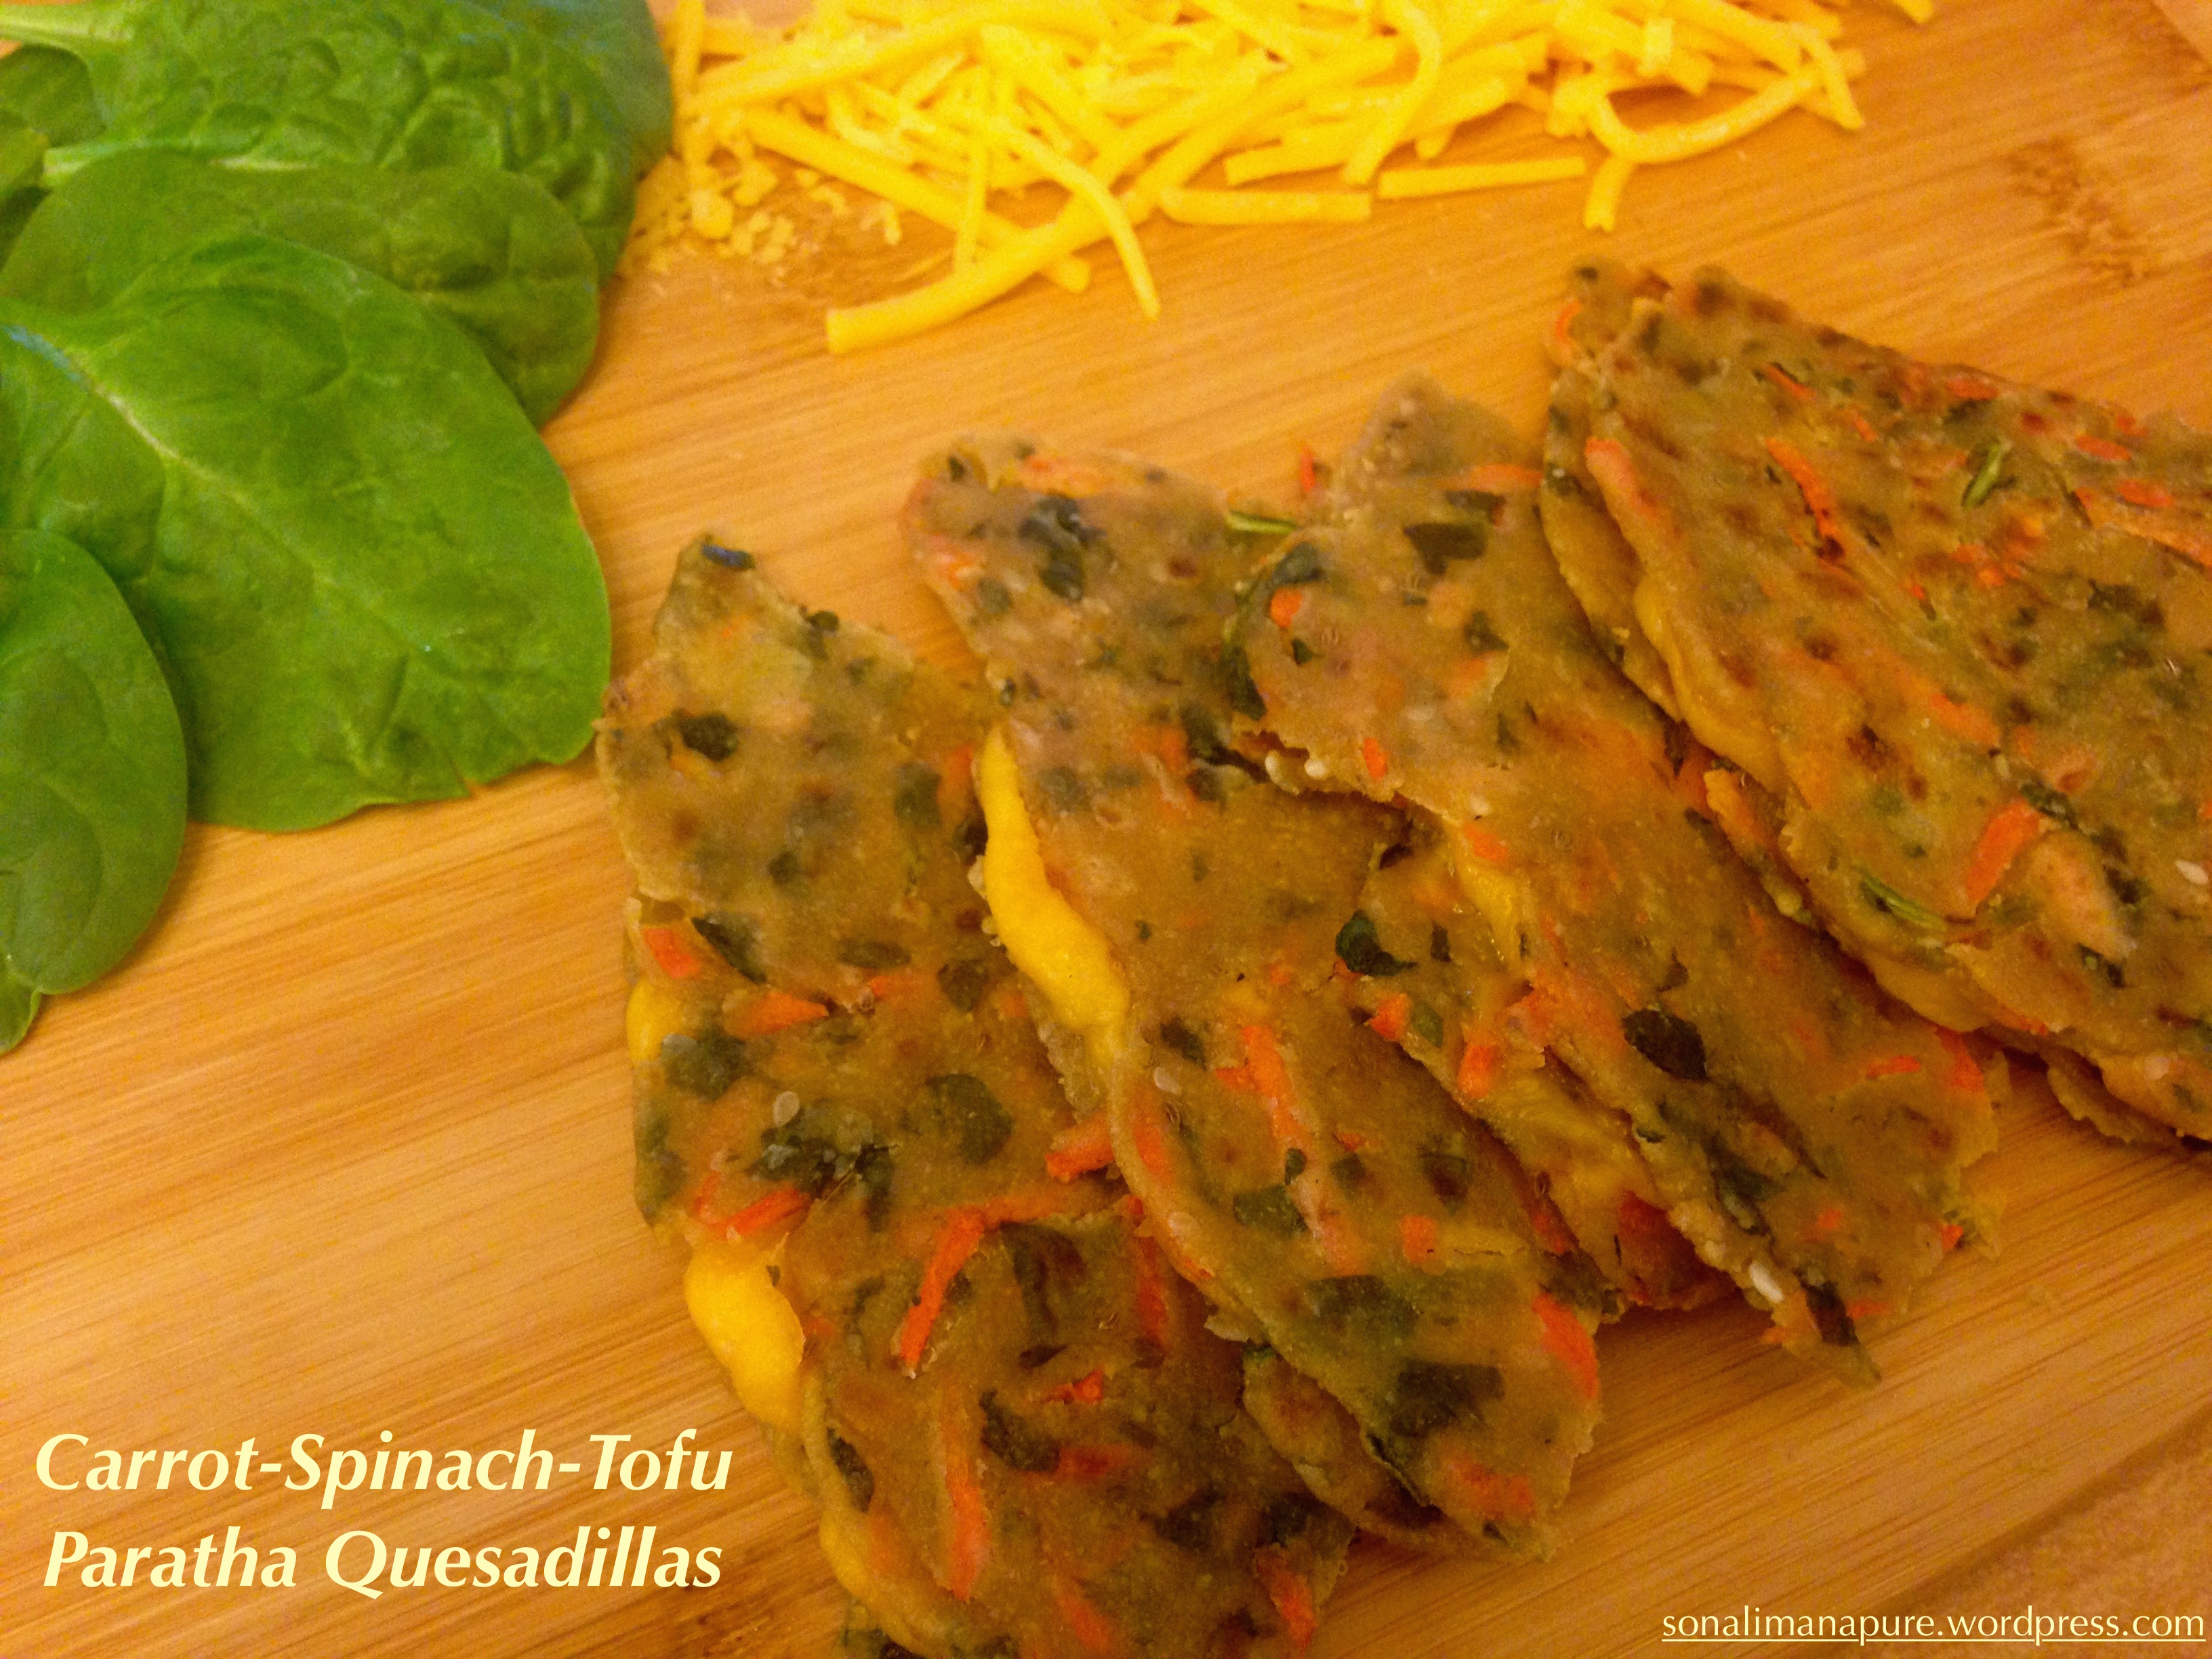
Following the recipe for veggie tofu healthy parathas, here is the way I use it for quesadillas.
(Read quesadilla basics here, or alternatively ‘folding method’ here)
  1. Heat a non-stick pan, place one paratha.
    • Spread caramelized onions or any other suitable stuffing like egg bhurji of your choice (optional)
  2. Put some shredded melting cheese like cheddar, monterey jack, colby, fontina.
    • Place sliced picked jalapeños on the cheese for the spicy-cheesy goodness – this stuff aint for kids! (optional but yum!)
    • Sprinkle with Taco seasoning or one of your choice (optional)
  3. On the second paratha that goes on the top, spread one or more of the following and place the spread-side-down facing the cheese:
    • Honey mustard / hummus / sriracha hot sauce /a spread of your choice (Hummus adds a creamy texture to the quesadilla and prevents ‘drying’ even when the quesadilla cools down. It tastes great and adds whole lot of goodness and protein)
  4. Once the cheese melts and binds the two parathas together, flip the entire set of tortillas to crisp the top paratha now.
  5. Once crisp, cut in wedges and serve hot.
Carrot-Spinach-Tofu Paratha Quesadilla
Carrot-Spinach-Tofu Paratha Quesadillas. Vegetarian.

 Nutrition information

here

Narayan Sheera: the simple & delicious halwa recipe

Narayan Sheera based on Dr. Balaji Tambe's 'Ayurvedic Garbha Sanskar'
Narayan Sheera: recipe from Dr. Balaji Tambe’s ‘Ayurvedic Garbha Sanskar’

On the occasion of my sons second birthday, I made Narayan Sheera, a halwa that is rich, nutritious and gives a feeling of satiety to the tummy and soul. It is made for Satyanarayan Puja or any religious ceremony as prasad (food offering to God).

Post Partum diet: I have the book Ayurvedic Garbha Sanskar by pioneering Ayurvedic physician and spiritual master Dr. Shri Balaji Tambe that my mother and I used as a guide during my pregnancies. It is an excellent book for those who are pro natural living and inclined to Ayurveda. Along with all the great information, the DOs and DON’Ts, the book has some recipes, including this Narayan shira / sheera that makes a rich but healthy dessert for one and all, especially beneficial during postpartum care. It is quite potent and so also recommended for women just before going into labor, as it provides the energy to sustain the mother through (and the only food before) the arduous hours of labor, childbirth and immediate recovery period.

This recipe is adapted from the book. Note how the characteristic proportion of suji to ghee to sugar is 1:1:1.

Ingredients:

1/2 cup rava / suji / semolina

1/2 cup ghee /  Indian clarified butter

1/2 cup sugar*

2 cups milk

2 tbsp almonds (or more/less, per you wish), chopped

2 tbsp cashews (or more/less, per your wish), halved

1 tsp elaichi powder (cardamom)

1/4 tsp kesar  powder (saffron)

1 ripe banana

1. In a thick bottomed pan, heat ghee and fry almonds and cashews. Set aside.

2. Add the suji in the ghee and fry it on low flame until it changes color to a dull pinkish and fragrant. Heat milk in the mean time.

3. Add the hot milk slowly while stirring so as to not let it form into lumps. After adding all the milk, stir well and cover to let it cook for about 5 minutes on very low heat. Make sure it doesn’t get burnt at the bottom (Put another griddle between your stove and the pan, if you need to).

4. Add sugar, almonds, cashews, saffron, cardamom powder, stir well, and cover for a minute or two. In the end, stir in the ripe banana pieces and cover for another minute or two before turing off the stove.

*The Indian sugar somehow seems sweeter than the one in the US. That said, you could add a couple more teaspoons of sugar if you wish. But again, most people like it not “too sweet” too. So adjust sweetness to your taste.

Simple Seviya or Vermicelli recipe for kids

Nutritious seviya / semiya for kids

It is one of those trying times when the kid refuses to eat almost anything offered to him, that you hit rock bottom as a frustrated mother! There are of course exceptions to their don’t-like-anything phase: Mac ‘n’ cheese! Seriously??  That orange sticky gooey ‘stuff‘? It was after one such tantrum that I hatched this evil (read ‘noble’) plan to cheat (not really) my kids with something that slips down their throats with minimal effort, yet get them to eat their veggies. (I know, they could thank me later!)

So I found my answer in semiya or vermicelli, a form of thin noodles used widely in Indian dishes like semiya upma (savory) and kheer (sweet porridge). This simplified version of the recipe worked for me. And I could see the mom-evil-laughter behind my matter-of-fact straight poker face! The pleasure of outwitting your kids by making them eat what you want them to: priceless!

Recipe Outline My standard simple recipe is driven by three factors:

1) Nutritious: enough fresh veggies per serving. My staple – broccoli, celery and carrots. Might add tofu at times for protein. Nuts added at times.
2) texture should be buttery and slimy
3) flavor should be just the right mix of salt-pepper-ghee. Neither too hot/spicy, nor bland.
That said, once the vermicelli is roasted in ghee, you could add any veggies you would like to experiment with, as long as the final product doesn’t lose the texture or taste suitable for kids.

Basic ingredients- kids Seviyan recipe

Basic Ingredients:

3/4 cup vermicelli
1 cup broccoli cut in small florets
1 cup diced celery
1 cup peeled, grated carrot
1 tbsp ghee
Salt to taste
Pepper to taste


Optional ingredients

-1/2 to 3/4 cup tofu. Season with 1/2 tsp salt, 1 tsp honey mustard, pinch of pepper.

-1/4 cup Crushed nuts- cashews and or almonds and or walnuts.

-Some shredded cheese (currently the Mexican Taco seasoning cheese is a household favorite).

-Some ghee before serving.

Recipe

1. Cut vegetables, crush nuts, squeeze out water from the tofu, crumble and season. Set aside.
Put 1&1/4 cups of water to a boil in the microwave at step 5.

2. Add ghee to a thick bottom pan. Add some crushed pepper followed by vermicelli. Roast on a medium to low flame until the color changes to light brown. They could quickly burn, so be fully attentive and keep stirring.

3. Once brown, add nuts and roast for a minute.

4. Add all the veggies and roast another minute.

5. Add the boiling water, salt and cover. Reduce the heat to medium low and let it cook for 5 minutes for el dente.
(I would add a little more water and cook slightly longer when my younger one didn’t have many teeth. Would also powder the nuts then). If there’s still some water left, cook uncovered for a minute of so until it evaporates.

Vermicelli is ready.

6. Mix in the seasoned tofu to the pan now, if you’d like. (No need to ‘cook’ tofu, but you could mix in and cover to let it sit for a minute in the steaming vermicelli.)
7. Add some ghee and / or shredded cheese in the plate before serving.

Snacks in minutes!

I had to make something for this new playgroup of moms and toddlers I joined. Since me and my husband were on a ‘juice fast’ (more on it in another blog), I wanted to make sure I use the two loaves of whole grain wheat bread we had.

These are some of my wheat bread snack ideas (which surprisingly were successful):

Crispy sweet discs: Cut out small “discs” out of a few bread slices (the size would be that of a quarter). Or any shape if you want to be adventurous. Roast them on both sides until crisp brown on a non-stick pan with salted butter. Unsalted could be used, but I found a dash of salt adds a savory flavor to it. Sprinkle powdered sugar and serve.

Sweet Wheat discs
Crispy Sweet Wheat discs

Wheat bread bites: Remove the sides of a three bread slices.

1.Put some non-sweet cream cheese (I use the Philadelphia 1/3 Less Fat Chive and Onion flavor and love it!).

2.Cover it with another slice and spread some Tangy Barbeque sauce (I had it leftover from McNuggets bought the past week). This is flavor goes very well with kids.

Variation: Alternatively, you could use regular pesto or tomato pesto sauce, that will go well with the adult party crowd. Cover this with the third slice.

3.Cut this 3-layered bread sandwich into a matrix of 9 square pieces. Stick in a toothpick. Serve!

Savory Wheat Bread Bites

Variation – sweet: Substitute the non-sweet creme cheese with the sweeter version, and the sauce with a fruit jam or jelly. These could also be Peanut Butter and Jelly bites. Same old recipe with a new look!

If you like it hot, brush a little olive oil or spray PAM and broil in the oven for a few minutes until golden crisp. Stick toothpicks and serve.

Grilled cheese sandwich – Now this is my all time favorite indulgence ever since Mr. Husband made it one time. Its fast and easy to make and is yum!

You need two slices of bread, grated sharp cheddar (regular or 2% fat), Sriracha sauce (You can get it in Asian Food isle) .

Helps to apply a little PAM Spray on the non-stick girdle or the grill ( I love my good old girdle to the grill!). Put one bread slice, cover it with shredded cheddar cheese, a little bit (or a little  more- depending on your heat you can handle!) of Sriracha sauce, cover it with another bread slice and press it down. I used a steel plate and mounted a nice heavy marble mortar . Turn when one side is crisp brown and wait till the other one is too.

Put a bread slice on the girdle, cover it with sharp cheddar cheese, add some Sriracha sauce.

Put a bread slice on the girdle, cover it with sharp cheddar cheese, add some Sriracha sauce and cover it with the second bread slice.
Once you cover it with another bread slice, press it down until the lower slice is crisp brown, then flip the sandwich until the other slice becomes  crisp brown.
Press the sandwich down until the lower slice is crisp brown, then flip and press down until the other side becomes crisp brown.
Check out the golden goodness of this awesome grilled cheese sandwich!

Enjoy!